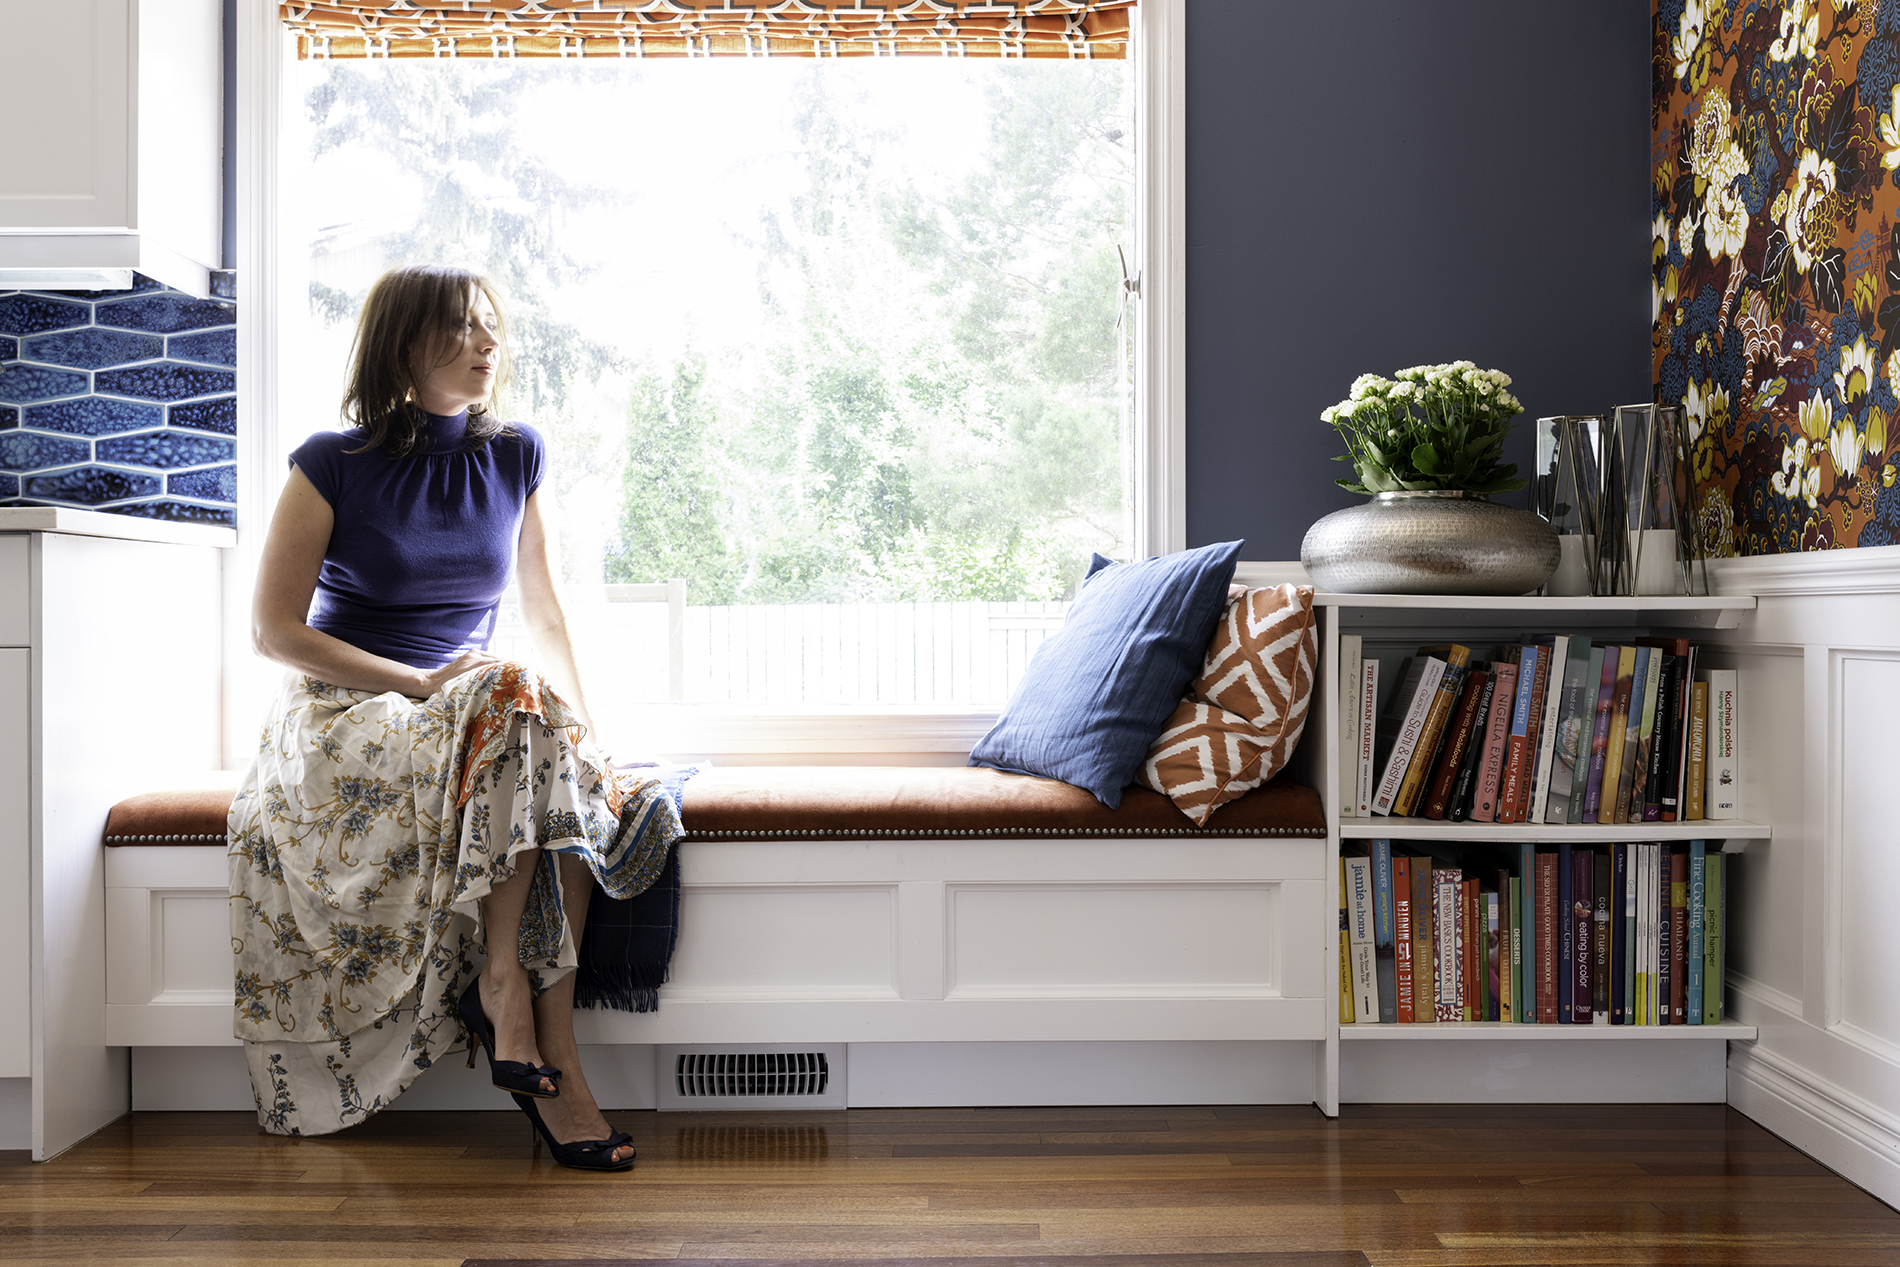
Window benches are a retreat within your own four walls. They add charm and character to any room, give you a touch of luxury and are a perfect storage solution for small spaces. Depending on the trim and finishing touches, they also match any decor style. Who wouldn’t love to curl up with a good book and a cup of coffee in a spot like this?
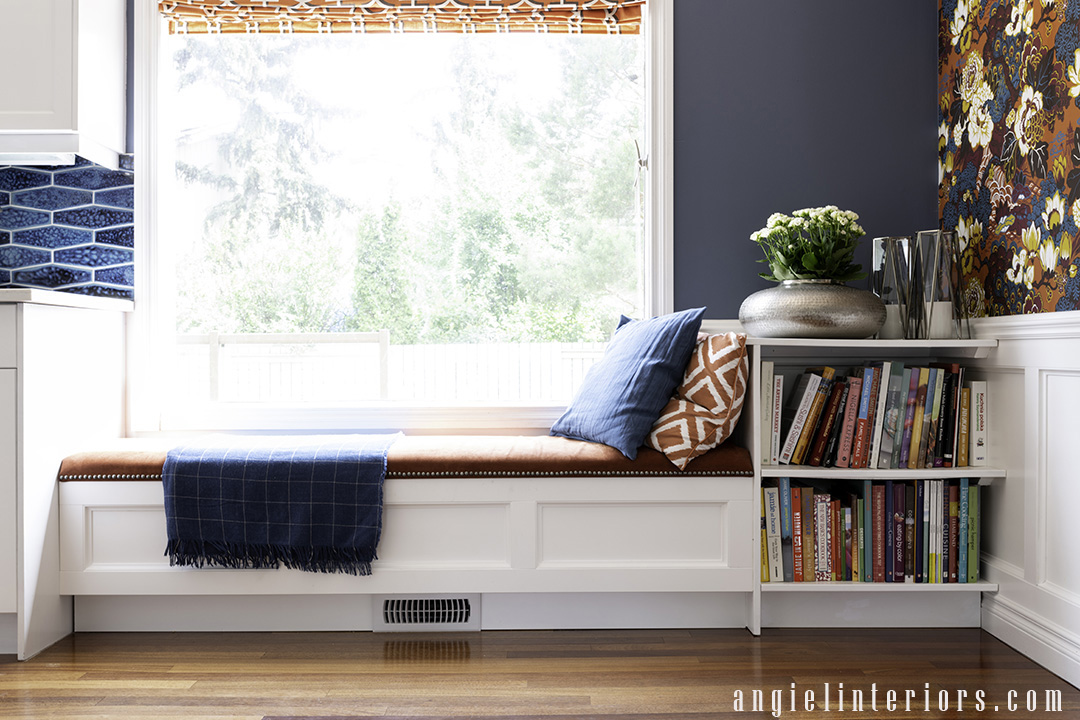
Our kitchen has this gorgeous picture window which was just the perfect spot to add a window bench. The window faces South, so it is such a treat to sit there on those sunny winter days and watch the kids play in the backyard! Sometimes the bench doubles as a banquette when we need to accommodate more people at the table.
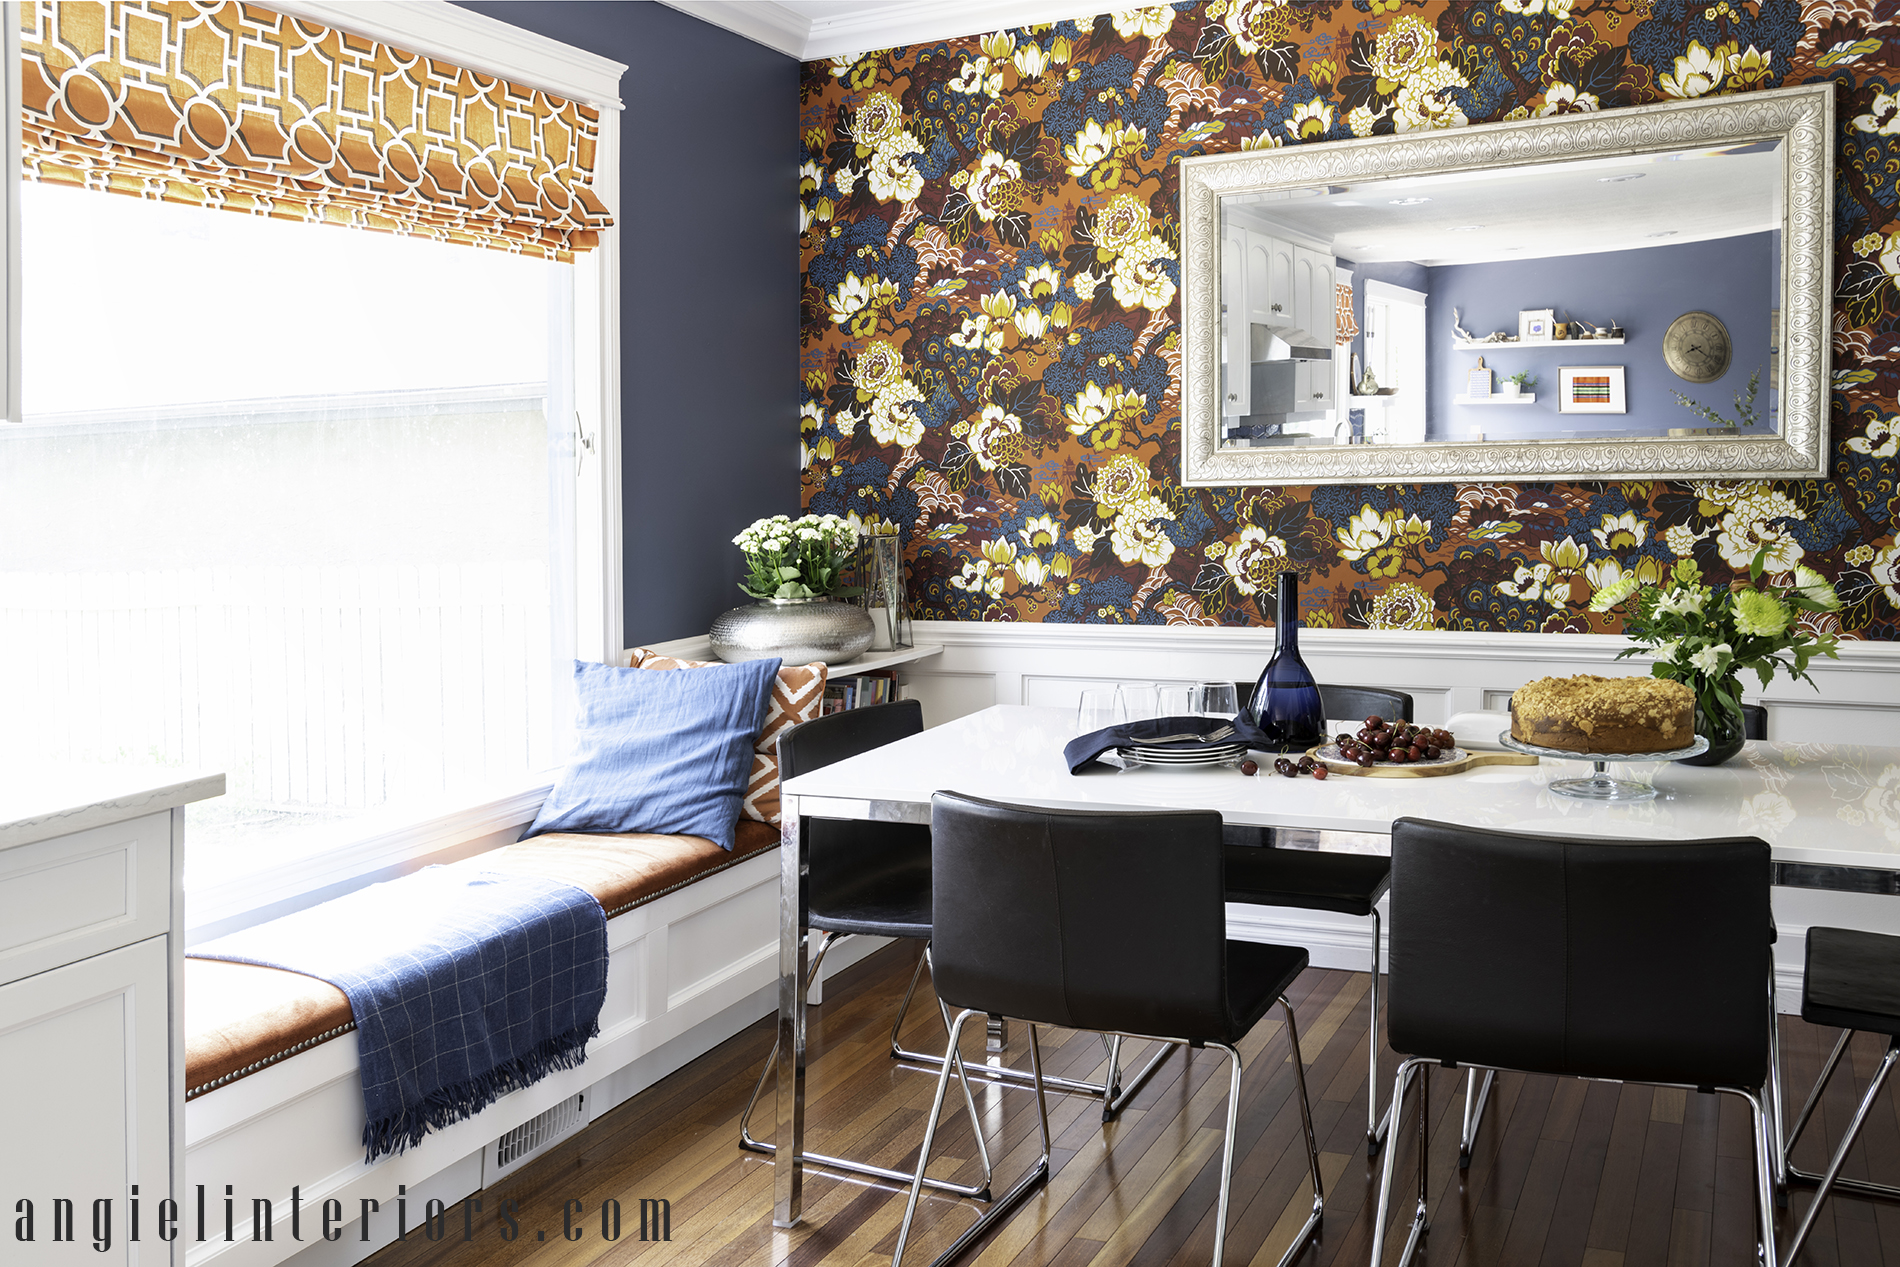
Custom built benches can be quite pricey, but there are other ways to achieve this custom look without breaking the bank. If you don’t feel very confident about your DIY skills, there are many wonderful tutorials on how to “hack” prefab cabinets to make window seats. But if you want to create a look that is really unified with your existing cabinets and trim, you can build a bench from scratch. Anyone with basic experience and the right tools can tackle this project in a weekend. The overall cost of our bench was approximately CAD 400 (excluding spray painting).
We started by building a simple sturdy frame using 2×4 boards, then covered the front with a piece of plywood and added trim to mimic the look of cabinet doors and wainscoting. We filled the brad nail holes with wood filler and caulked around all seams and edges before painting. Our kitchen cabinets and trims had been spray painted by a professional, so we wanted the bench to have the same finish. But painting the whole structure with a brush and a roller would also be fine.
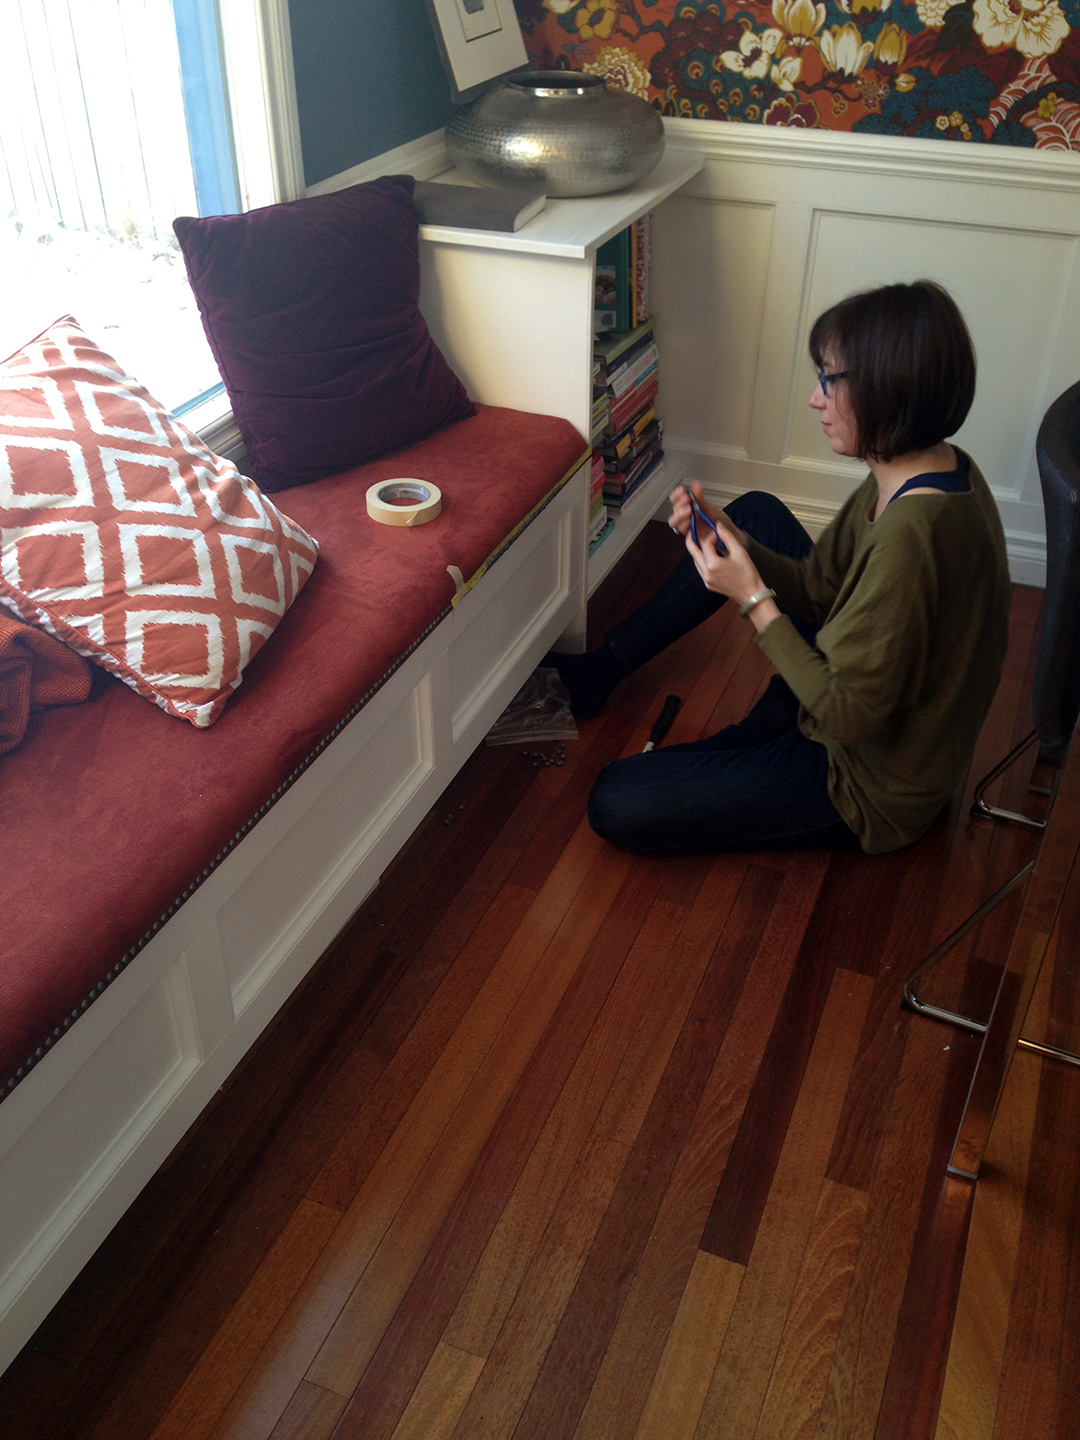
As window benches are most comfortable when you can simply curl up and lean against whatever is on the side, we decided to add a shelving unit as a backrest (it also serves as a side table).

It is not uncommon to have a vent under the window, but it can be easily built out with under cabinet vent adapter. We custom cut the toe kick to install the vent cover under the bench.
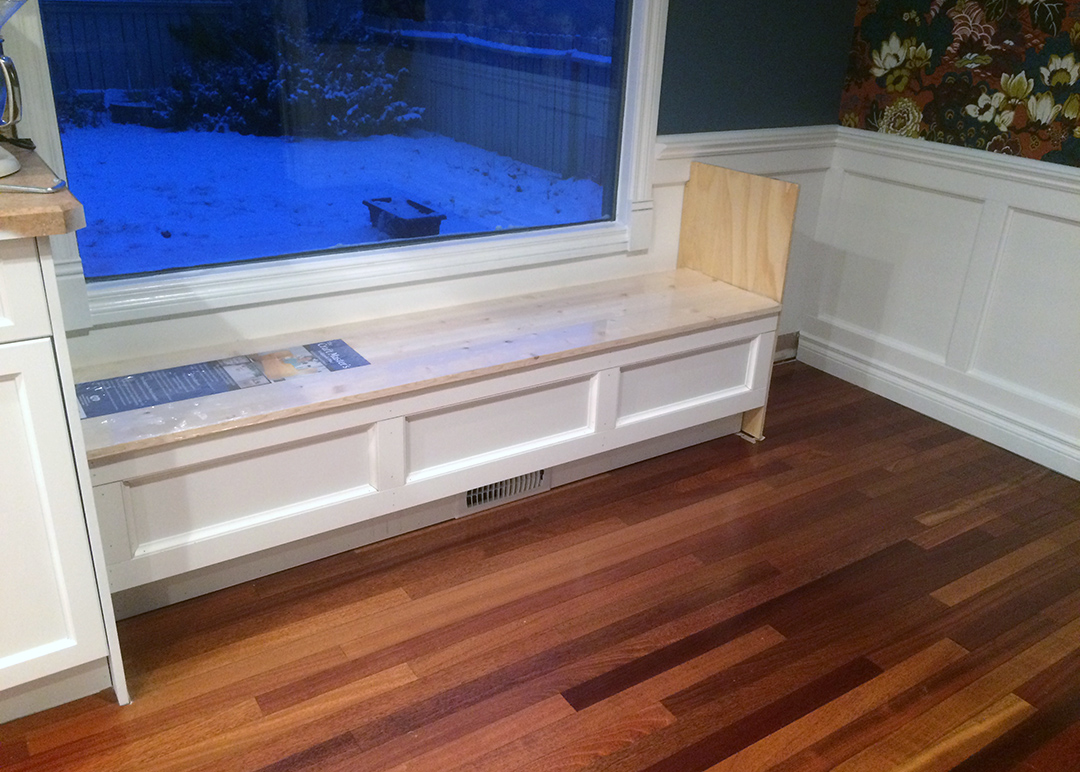
As we wanted our bench to double as a storage bin, we installed a hinged top using a shelf board and a piano hinge. The board was upholstered with high-density foam, a layer of batting (for a soft rounded edge) and upholstery fabric. To achieve a more sophisticated look I finished the edge with decorative nails in nickel. Now, a few words about dimensions. When designing a bench like this you want the finished height to be similar to that of a dining chair (about 18″/45cm), so remember that your bench will gain a couple inches with the upholstery/cushion. As for comfort of sitting, a bench should be at least 18″ deep.

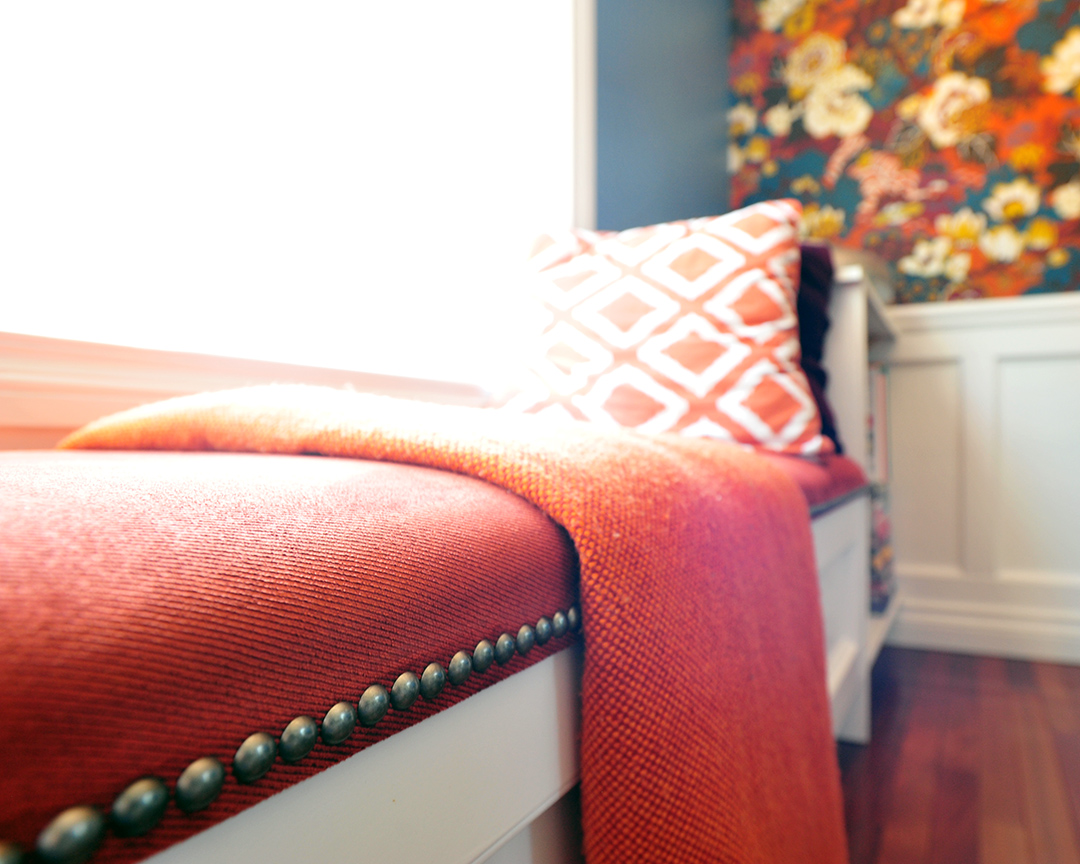
Now all you need is a few comfy cushions and a blanket! Happy DIYing!
